





Ask any contractor and they’ll tell you: the toolbox isn’t just equipment storage – it’s the center of every job. To keep projects moving, you need to have the right tools at hand and ready to work. But as essential as they are to jobsite efficiency, toolboxes often don’t get the attention they deserve when it comes to organization. Tools get tossed in haphazardly, or put away with no sense of order or purpose. It may seem trivial, but taking the time to learn how to organize a tool chest properly can be a complete gamechanger.
Why Organize Your Tool Chest
Imagine this: You’re on site and need to grab a drill. You head to your toolbox and start digging through what seems like every power tool known to man. It’s taking forever, and when you eventually find what you need, you nearly puncture yourself with the drill bit. You’re annoyed, frustrated, and stressed. Not ideal for kicking off a major project.
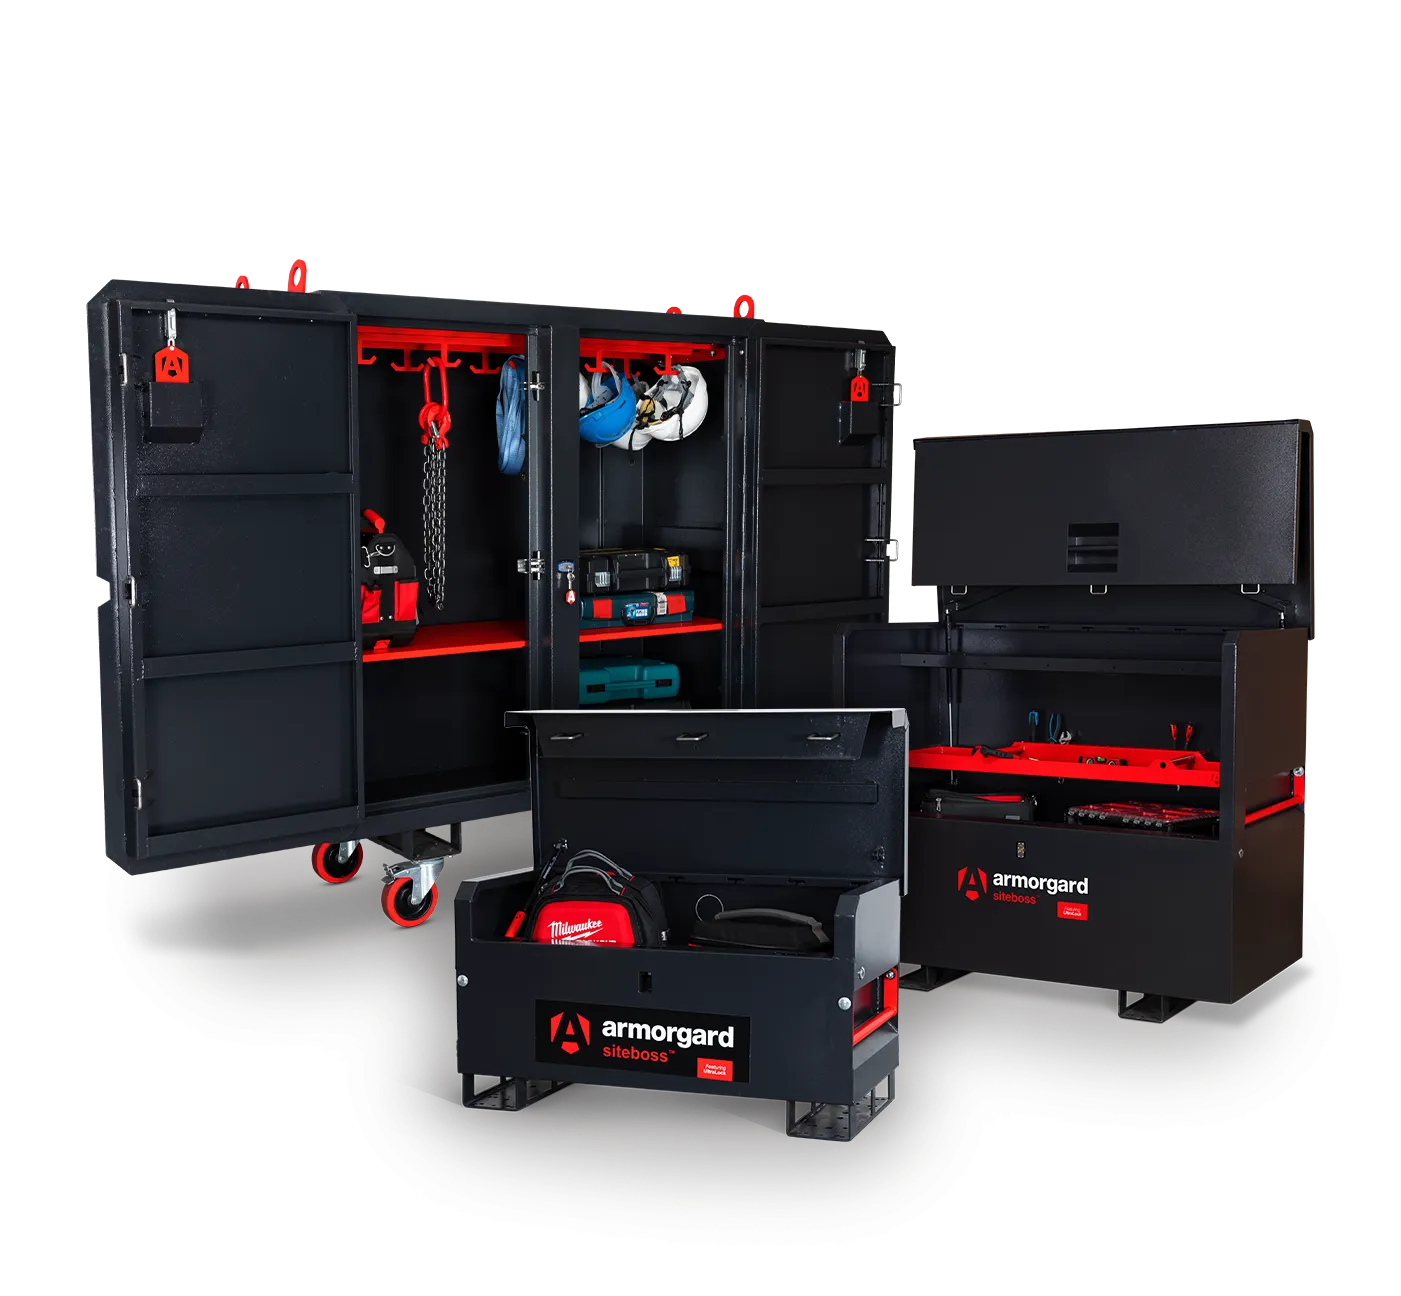
It’s time to get your gear in order. You need professionally tested, tried-and-true ways to organize a tool chest. Whether you use a tool chest, piano box, or another type of jobsite box, we have you covered with these field-proven toolbox organization ideas.

How to Organize a Toolbox for Maximum Efficiency
Before we dive into the “hows” of professional tool chest organization, it’s important to understand something called the 5S system. These five basic steps will help you maximize your efficiency and productivity on the job, whether you’re at a construction site or working out of the back of your truck.
The 5S System for Tool Organization
These five job box organization practices are simple yet essential to maintaining a clean and functional work environment.
- Sort: Go through your toolbox and remove any tools you don’t use regularly.
- Set in Order: Organize your tools logically by grouping similar equipment. Keep the ones you use most frequently within easy reach.
- Shine: Clean your emptied toolbox before putting each tool back in its designated spot.
- Standardize: Set clear expectations about returning tools to the right spot as part of your crew’s daily routine.
- Sustain: Keep the system working by regularly checking and refreshing your toolbox organization.
How to Choose Your Organization Strategy
After understanding the 5S methodology, the next step in job box organization is to determine the best way to organize your equipment. This varies by person, profession, and work environment, but it can be broken down into three main strategies:
- By Size: Sort your tools from smallest to largest. Use top drawers for hardware, bits, and accessories, and lower, deeper drawers for larger and heavier equipment.
Pro Tip: This strategy is especially useful for tools that come in sets, making it easier and faster to find exactly what you need. - By Function: Group together similar types of tools. Hand tools can go in one compartment, powertools in another.
Pro Tip: Think about the types of projects you most frequently work on and group together the required tools. For example, if you do a lot of wiring work, keep your electrical tools in one spot. - By Frequency: What tools do you use most often? For tools you use every day (think measuring tape, screwdrivers, hammers), store them in waist-height drawers so they’re easily within reach. Then place equipment you only use occasionally or seasonally in lower drawers or compartments.
Pro Tip: Implement this strategy to minimize the amount of bending you need to do on the job. Your back will thank you!
Play around with different arrangements and consider which method works best for your situation. You may even find that combining two (or more) strategies is the way to go.

Toolbox Organization Ideas: Quick Wins & Hacks
While a well-thought-out system is great, sometimes you just want the down and dirty tips. If you don’t have the time or effort for a full toolbox rehaul, these quick-hit tool chest organization ideas can still make a world of difference.
✔️Use small containers for loose hardware. Bins and trays prevent small pieces from getting mixed up.
✔️Drawer organizers are your friend. They keep tools in their place and make it harder for tools to go missing. You can also use foam inserts to give each tool a designated spot and help cushion expensive tools against dents and scratches.
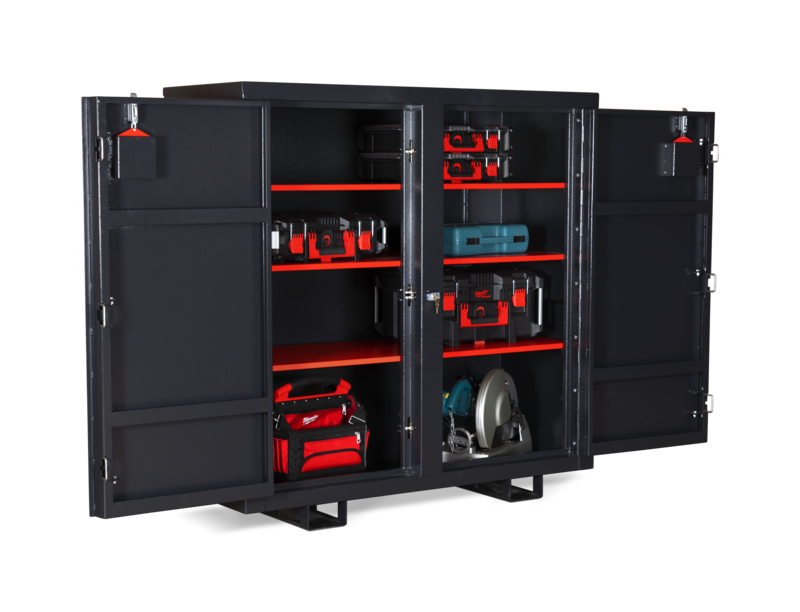
✔️Organize jobsite cabinets using magnetic straps and hangers on the door interiors. Place smaller metal tools, like wrenches and scissors, on the magnetic tool holder to make them easy to spot and grab. Vertical storage like this also frees up space in drawers for larger tools.
✔️Add extra shelves, drawers, and other toolbox accessories to maximize organization. You can also use a tool hook for additional hanging storage.
✔️Label everything! Use stickers, tape, or magnetic strips to put a label on every compartment and drawer so that everyone knows where everything belongs.
✔️Use color coding. Assign a color to each type of tool and use colored bins or handles to organize equipment. Orange for power tools; green for cutting gear. Or color code by job type – blue for electrical; red for woodworking. However you choose to color code, this strategy will help you find what you need, fast.
✔️Keep your rarely used and specialty tools in a separate storage area.
✔️Clean out your toolbox regularly. Just a few minutes a week spent putting things back in place and removing clutter can be a lifesaver.
Key Takeaways
Job box organization isn’t just about putting things in the right place – it can transform your workflow, efficiency, safety, and even your mood on the worksite. Learning how to organize a toolbox in a way that works for you and your team is effort well spent.
- Keep your most-used tools in easy-to-access locations.
- Use bins, trays, and inserts to enhance organization.
- Clear labeling and color coding increases functionality.
- Save time, energy, and stress with the 5S method for tool organization.